Introduction
Understanding the Importance of Water Softening at Home
Hard water can be a significant nuisance in your home. It leaves mineral deposits, clogs pipes, and can even affect the quality of your laundry and skin. This introduction sets the stage by explaining the issues associated with hard water and why water softening is a valuable addition to your home.
Benefits of DIY Water Softener Installation
Introducing the advantages of a DIY approach, we emphasize the cost-effectiveness and satisfaction of installing your water softener. This section gives readers a glimpse of the benefits they can expect from taking the DIY route.

Why You Need a Water Softener
Why You Need a Water Softener
Exploring the Impact of Hard Water on Your Home
Hard water, which contains an excessive amount of minerals like calcium and magnesium, can have far-reaching consequences on your household. As readers delve into this chapter, they will uncover the significant repercussions of hard water. The common issues include scale buildup in pipes and appliances, which can lead to clogs and decreased efficiency. The unsightly scale can affect the appearance and functionality of fixtures and appliances, making cleaning a more challenging task.
Additionally, the discussion will also address the detrimental impact of hard water on your plumbing system. The gradual buildup of scale in pipes can reduce water flow, leading to reduced water pressure and the need for costly repairs. The resulting limescale deposits can even corrode plumbing fixtures over time, necessitating replacements.
Benefits of Softer Water for Your Appliances and Skin
However, there is a solution that can address these hard water challenges effectively: a water softener. In this section, we’ll highlight the numerous benefits of using a water softener to combat hard water problems. Firstly, readers will learn how water softeners work to reduce the mineral content in water, preventing scale buildup and protecting the entire plumbing system. This maintenance alone can lead to significant cost savings over time.
The positive aspects of softer water go beyond the plumbing system. We’ll explore how the use of a water softener can extend the lifespan and improve the efficiency of appliances like washing machines and dishwashers. Reduced scale buildup ensures appliances operate optimally, consume less energy, and require fewer repairs.
Moreover, we’ll emphasize the softer water’s impact on personal comfort. Softer water is gentler on the skin, leading to reduced dryness and irritation. It can also promote healthier, shinier hair. Readers will come to understand why the overall comfort of their daily lives can significantly improve with the installation of a water softener.

Choosing the Right Water Softener System
Choosing the Right Water Softener System
Different Types of Water Softeners: Salt-Based, Salt-Free, and More
When it comes to water softeners, there are several options available, each with its own unique characteristics. In this section, we’ll explore the various types of water softener systems, helping you understand their differences and choose the one that best suits your needs and preferences.
Salt-Based Water Softeners:
Salt-based water softeners are among the most common and effective systems. These units use ion exchange to remove hard minerals like calcium and magnesium. The process involves resin beads that attract and replace these minerals with sodium ions. As a result, the water becomes softer and less likely to cause scale buildup.
Salt-Free Water Softeners (Conditioners):
Salt-free water softeners, also known as water conditioners, are an alternative for those who prefer to avoid the use of salt. These systems don’t remove hardness minerals from the water but instead alter their structure, preventing them from forming scale. While they don’t provide the same degree of softness as salt-based systems, they are an excellent choice for those concerned about sodium intake.
Magnetic and Electronic Water Descalers:
Magnetic and electronic water descalers are relatively new additions to the market. These systems use electromagnetic fields or electronic pulses to change the behavior of minerals in the water. While some users report improvements in scale reduction, these methods may not be as reliable as traditional salt-based softeners.
Selecting the correct water softener type is a critical decision. Salt-based softeners offer the most effective water softening, while salt-free systems and descalers provide alternative options. Your choice should be based on your water hardness, preference for sodium intake, and installation considerations.
Sizing Your Water Softener: Finding the Right Capacity
Once you’ve decided on the type of water softener, the next step is to determine the appropriate size or capacity for your household. Selecting the right capacity ensures that your water softener operates efficiently and effectively.
To size your water softener:
- Calculate Your Daily Water Usage: Begin by determining your household’s average daily water consumption. You can typically find this information on your water bill.
- Assess Water Hardness: Check the hardness level of your water, usually measured in grains per gallon (GPG) or milligrams per liter (mg/L). This information helps in determining the amount of hardness minerals the softener needs to remove.
- Factor in Regeneration Frequency: Consider how often the water softener will regenerate, which is the process of cleaning the resin bed. Smaller units may need more frequent regeneration, so it’s essential to balance system size with regeneration frequency.
- Consult the Manufacturer’s Guidelines: Manufacturers provide guidelines for selecting the right capacity based on water usage and hardness levels. Follow these recommendations to ensure your water softener meets your needs.
By accurately sizing your water softener, you can enjoy the benefits of softened water without overspending on a unit that exceeds your requirements or investing in one that falls short of your needs.

Step-by-Step DIY Water Softener Installation
Step-by-Step DIY Water Softener Installation
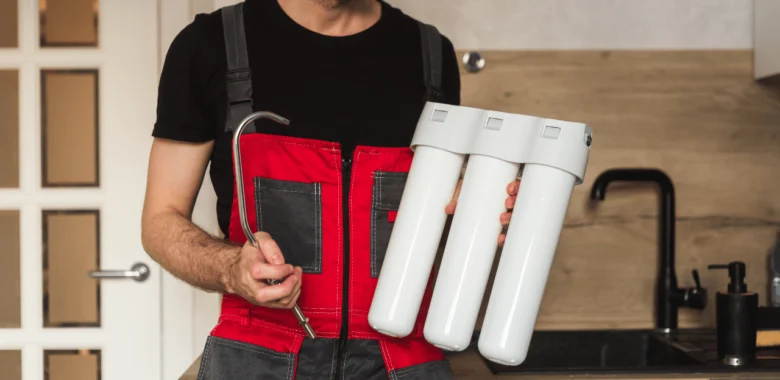
Gather Your Tools and Materials
Before you start your water softener installation, it’s essential to ensure you have all the necessary tools and materials ready. Here is a comprehensive list to help you prepare:
- Water Softener Unit: Ensure you have the specific water softener system you’ve chosen.
- Installation Kit: Check if your system includes a dedicated installation kit.
- Pipe Cutter or Tubing Cutter: You’ll need this to cut and connect pipes.
- Teflon Tape: Use it to secure pipe connections and prevent leaks.
- Compression Fittings: Essential for connecting pipes.
- Wrenches and Pliers: For tightening fittings and clamps.
- Flexible Tubing: For creating bypass connections and drain lines.
- Brine Tank: For holding the salt supply.
- Salt: Depending on your system, you may need rock salt or evaporated salt.
- Drain Line: To discharge wastewater.
- Electrical Connection: If your system requires it.
- Owner’s Manual: Always have the manual on hand for reference.
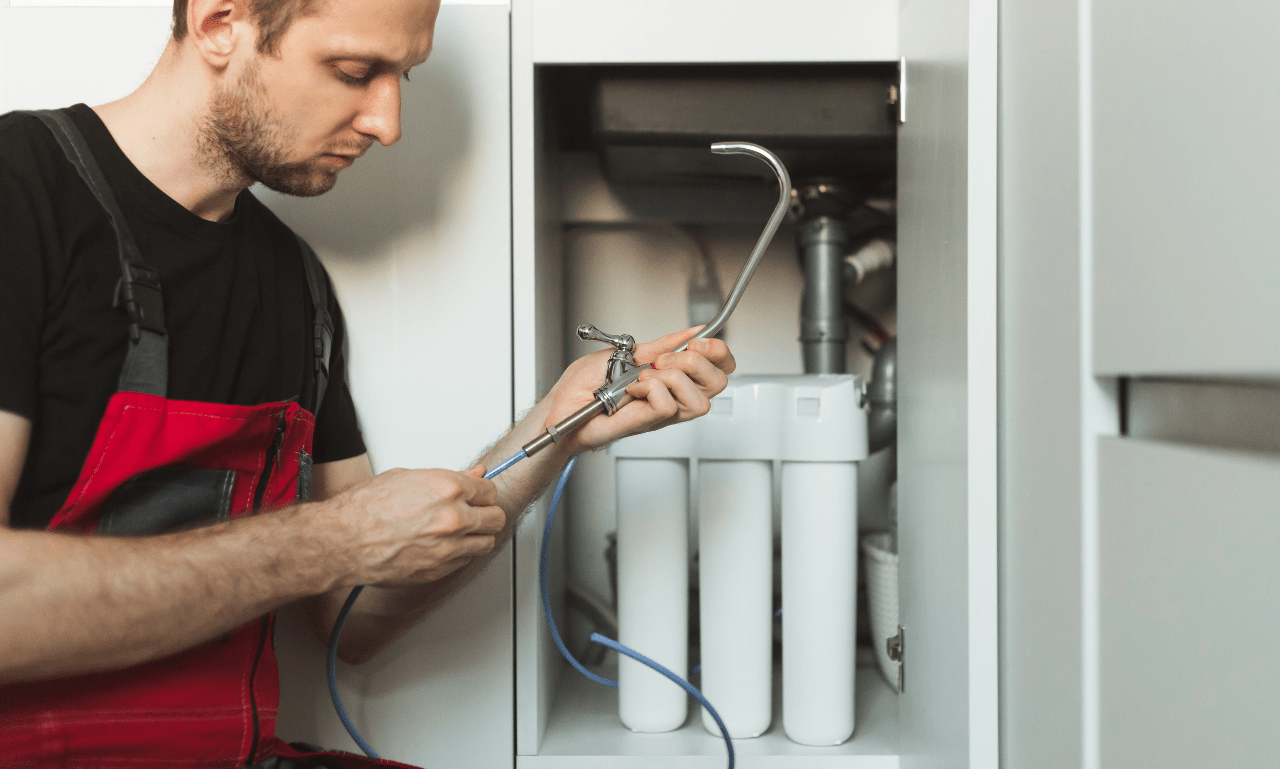
Installing Your Water Softener: A Detailed Walkthrough
Now, let’s dive into the step-by-step guide to installing your water softener:
- Locate the Installation Point: Choose a suitable location near your water main where you’ll install the water softener. Make sure it’s level and has enough space for the unit and salt storage.
- Shut Off Water Supply: Turn off the main water supply to your home to ensure a smooth installation process.
- Bypass Existing System: If you have an existing system, bypass it to divert water away from it. Install a bypass valve, which usually comes with your new water softener.
- Position the Water Softener: Place the water softener in the chosen location and connect it to the plumbing using compression fittings. Follow the manufacturer’s instructions carefully.
- Install the Brine Tank: Set up the brine tank and connect it to the water softener. Fill it with the appropriate type of salt as recommended by the manufacturer.
- Program the Unit: Depending on your model, program the water softener according to your water hardness level and specific requirements.
- Turn On Water Supply: Open the bypass valve and turn on the water supply. Check for leaks and resolve them if necessary.
- Check for Regeneration: Confirm that your water softener is regenerating correctly, which may take a few hours or days.
Maintenance Water Softener
Maintenance and Troubleshooting
Regular Maintenance Tips for Your Water Softener
Maintaining your water softener is crucial for consistent performance. Here are some routine maintenance tasks to keep your system in optimal condition:
- Refill Salt: Regularly replenish the salt in the brine tank to ensure your water remains adequately softened.
- Check for Salt Bridges: Inspect the brine tank for salt bridges, which can form when salt hardens. Break them up to ensure proper salt dissolution.
- Clean the Brine Tank: Periodically clean the brine tank to remove any sediment or debris.
- Sanitize the System: Sanitize the resin tank and distribution system to prevent bacterial growth and maintain water quality.
Troubleshooting Common Issues for Optimal Performance
In this section, we address common issues that can affect your water softener’s performance:
- Resin Bed Fouling: If you notice a drop in water softening efficiency, it could be due to a fouled resin bed. You may need to regenerate the resin or replace it.
- Low Water Pressure: Low water pressure can result from clogs or blockages in the system. Check for obstructions and clean as needed.
- Salt Bridges: Salt bridges can form in the brine tank, preventing salt from dissolving correctly. Break up any salt bridges to allow proper regeneration.
By following these detailed installation instructions and performing regular maintenance, you can ensure that your DIY water softener installation provides you with consistently softened and high-quality water in your home.
Conclusion
In conclusion, a DIY home water softener installation is not only cost-effective but also empowering. This guide has covered every aspect of the process, from the importance of water softening to selecting the right system, installation steps, and maintenance. By following these guidelines, readers can enjoy the benefits of softened water in their homes, from appliance longevity to improved comfort.
If you’ve ever wondered about car safety, you’ll find our guide on “What to Do When You Accidentally Leave Your Car Running in the Garage” incredibly helpful.
Related Reading