Introduction
Exploring the Allure of a DIY Home Putting Green
The idea of having your own putting green at home is not only exciting but also a fantastic way to improve your golf game. In this comprehensive guide, we will walk you through the step-by-step process of creating your very own DIY home putting green. You can enjoy practicing your putting skills in the comfort of your own space and experience the thrill of golf without leaving home.
The Benefits of Having Your Own Putting Green at Home
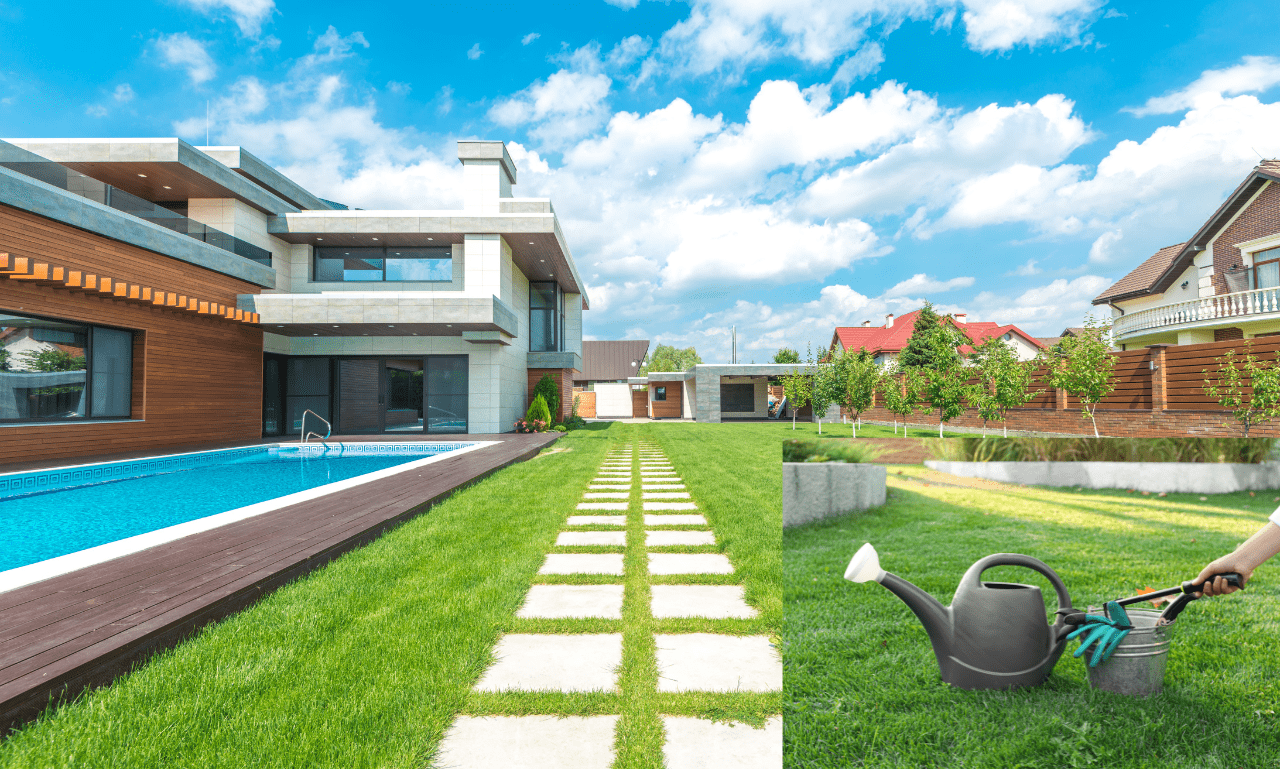
Having a home putting green offers numerous advantages. It provides a convenient and accessible practice area for golf enthusiasts. You can refine your putting technique, entertain guests with a fun activity, and enhance your property’s aesthetic appeal. Whether you’re a golf enthusiast or just looking to improve your short game, a DIY home putting green is an excellent addition to your home.
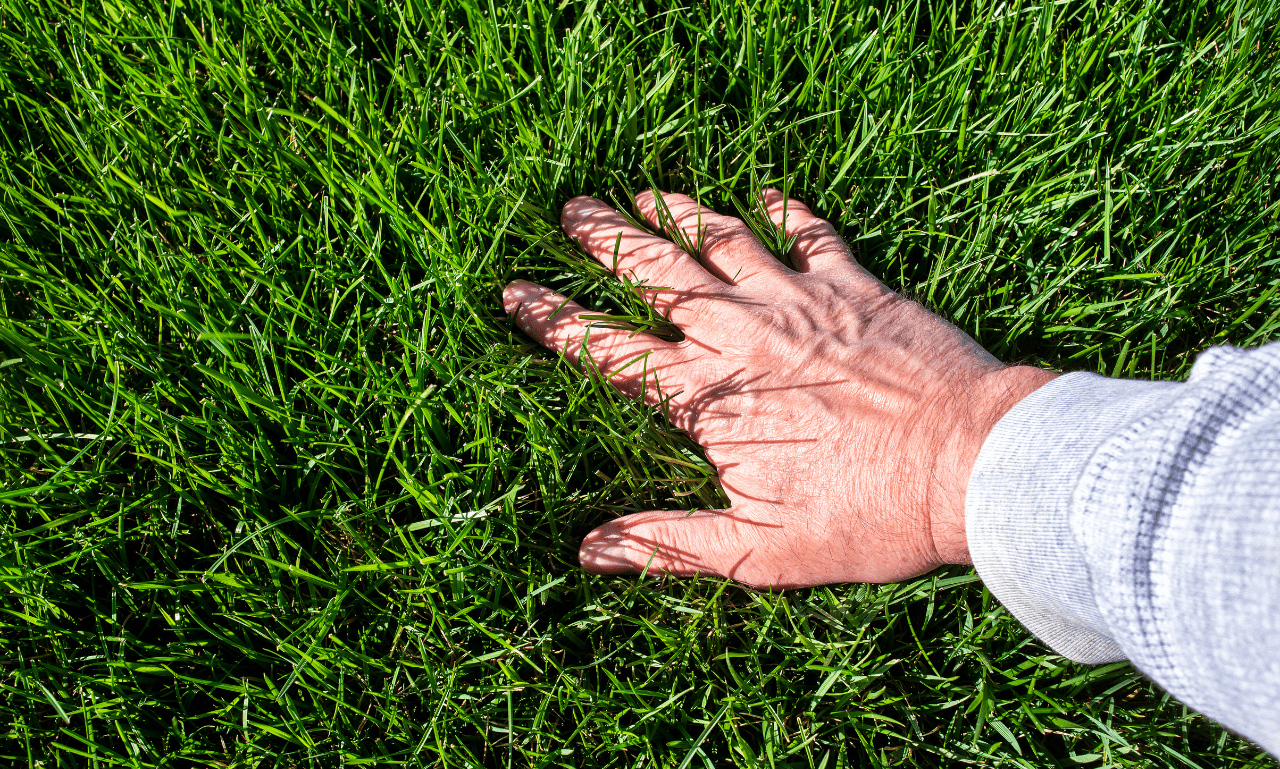
Home Putting Green
Planning Your DIY Home Putting Green
Selecting the Ideal Location and Space for Your Green
Choosing the right location for your home putting green is a critical decision that sets the foundation for your project’s success. To begin, assess the available space in your yard or garden. The size of your space will determine the scale of your putting green, so measure the area to get a clear picture.
Consider the terrain of the chosen location. Ideally, the ground should be level or gently sloping. If you encounter a slope, you may need to consider some grading work to achieve a flat surface. Additionally, assess the current state of the soil to ensure good drainage and a healthy base for your putting green.
Another crucial factor to contemplate is sunlight exposure. Most grass types used for putting greens thrive in full sun. Therefore, choose a location that receives at least 4-6 hours of sunlight daily. If your yard has shaded areas, it’s important to take that into account when planning your green’s location.
Considering Design Elements and Aesthetic Choices
Designing your DIY home putting green is where the fun begins. You have the creative freedom to shape your putting green according to your preferences. This section dives into the design elements you’ll need to consider:
- Shape: The shape of your putting green can be tailored to match your available space and aesthetic vision. Whether you opt for a traditional rectangular shape or something more unique, the design should maximize both putting functionality and visual appeal.
- Size: Your green’s size depends on the space you’ve allocated. Smaller yards may accommodate a modest-sized putting green, while larger spaces allow for more extensive designs. We’ll help you determine the best size for your specific area.
- Contours: Contours add character to your putting green. Subtle undulations and breaks can replicate the challenges of real golf courses. You can create a fun and dynamic experience by incorporating gentle mounds, swales, and slopes into your green.
Your personal preferences and vision play a significant role in this phase of planning. Whether you aim for a more natural and casual look or prefer a professional-grade green, the possibilities are diverse. We’ll guide you in designing a putting green that not only suits your golf practice needs but also enhances the overall aesthetics of your home.
By carefully considering location and design elements, you’ll set the stage for a successful DIY home putting green project. This planning phase ensures your green is functional, beautiful, and tailored to your specific needs and desires.
Essential Materials and Tools
Must-Have Materials for Building a Putting Green
Building your DIY home putting green requires specific materials to ensure a professional-grade surface. Here are the must-have materials you’ll need:
- Putting Green Turf: The heart of your putting green, choosing high-quality artificial turf designed for putting is crucial. Look for turf with a stimp rating (measuring green speed) that suits your skill level, and ensure it has a natural appearance and ball-rolling consistency.
- Base Materials: A solid base is essential for stability. You’ll need crushed stone, decomposed granite, or a similar aggregate to create a stable and level foundation.
- Drainage Solutions: Proper drainage prevents water buildup, which can damage your green. Perforated pipes, gravel, and sand layers are common components of an effective drainage system.
- Geotextile Fabric: This fabric helps to separate the base materials from the turf, preventing contamination and promoting drainage.
- Adhesive and Seam Tape: To secure the putting green turf in place, you’ll need adhesive and seam tape, ensuring a seamless and secure surface.
- Infill Material: Silica sand or rubber granules are used to add ballast to the turf and help maintain its structure and appearance.
Tools You’ll Need for the DIY Project
Equipping yourself with the right tools is essential for a successful DIY home putting green project. Here’s a list of the tools you’ll require:
- Shovel: For removing existing grass, digging trenches for drainage, and excavating the base area.
- Rake: To level the ground, distribute base materials, and prepare a smooth surface.
- Tamper: Essential for compacting the base materials to create a solid foundation.
- Cutting Tools: Carpet knives, utility knives, or specialized turf cutters are necessary for trimming and fitting the putting green turf.
- Measuring Tools: A tape measure and a level help ensure accurate dimensions and alignment.
- Roller: For smoothing out the putting green turf and ensuring it adheres well to the adhesive.
- Seaming Iron: If your putting green requires seams, a seaming iron and seam tape will be essential for joining pieces together securely.
- Gloves and Safety Gear: Don’t forget personal protective equipment, including gloves and safety goggles.
Having the right materials and tools on hand is crucial to the success of your DIY home putting green project. With these in place, you can proceed confidently to construct your own practice area and enjoy the convenience of practicing your putting skills at home.

Step-by-Step Construction Process
Step-by-Step Construction Process
Preparing the Ground and Base
The success of your DIY home putting green hinges on a solid foundation. In this stage, we will walk you through the essential steps of preparing the ground and creating a stable base for your green. To get started:
- Clear the Area: Begin by removing any existing grass, weeds, or debris from the chosen location. You want a clean slate for your putting green project.
- Level the Ground: Use a leveling tool, such as a landscape rake, to ensure the ground is flat and even. This step is critical for a smooth and consistent putting surface.
- Add Base Materials: Next, add the right base materials, typically a combination of crushed stone and sand. This layer provides a stable base for your putting green. Compact it firmly with a tamper to prevent shifting or settling.
Installing and Putting Green Turf and Cup Holes
With the ground prepared, it’s time to install the putting green turf and cup holes:
- Lay the Turf: Roll out the putting green turf over the prepared base. Ensure it is stretched tight and free from wrinkles. Secure the edges with landscape spikes or adhesive, following the manufacturer’s instructions.
- Cutting and Seaming: Trim the turf to fit the desired shape and size of your putting green. Properly seam the edges to create a seamless, professional look.
- Install Cup Holes: Measure and mark the locations for cup holes. Dig holes for cups and insert them securely. You can adjust the depth to vary the challenge of your putting green.
Securing Edging and Finishing Touches
To achieve the final, polished appearance of your DIY home putting green, follow these steps:
- Edging: Install edging around the perimeter of your putting green. This serves a dual purpose: it keeps the turf in place and provides a clean boundary for your green.
- Aesthetic Features: Now, add aesthetic and functional features to enhance your putting green. Flags, similar to those on a professional golf course, can be inserted into the cup holes. Ball retrieval systems, like ball return channels or baskets, add convenience to your practice.
- Proper Drainage: Ensure your putting green has a drainage system in place to prevent water buildup. Proper drainage helps maintain the turf’s quality and longevity.
With edging and these finishing touches, your DIY home putting green will not only look like a true golf course but also perform like one. It’s the attention to detail that makes your putting green a source of pride and endless enjoyment.
By following these comprehensive steps in Chapter 3, you’ll be well on your way to creating a DIY home putting green that provides a top-notch putting experience right in your own backyard. Enjoy the convenience of practicing your putting skills at any time and take pleasure in the aesthetics of your personalized golf oasis.
Maintenance and Care Tips
Maintenance and Care Tips
Keeping Your DIY Putting Green in Top Condition
Regular maintenance is essential to ensure that your DIY home putting green remains in top condition. A well-maintained green not only looks appealing but also performs optimally, allowing you to enjoy a smooth putting experience.
Mowing and Grooming: Regular mowing is key to maintaining the desired green speed and appearance. Use a specialized putting green mower or a reel mower with a fine height adjustment. Keep the grass height at around 1/8 to 1/4 inch, depending on your preferences. Frequent grooming with a broom or brush helps stand up the grass blades and prevents matting, ensuring a consistent putting surface. This grooming action should be done in different directions for a uniform look.
Pest Control:Pest management is vital to prevent issues like grass damage or turf discoloration. Keep an eye out for common pests like grubs, insects, or fungal infections. Integrated pest management techniques using environmentally friendly and pet-safe solutions can help maintain a healthy putting green. Consult with local lawn care professionals if necessary to address specific pest concerns.
Seasonal Care, Cleaning, and Troubleshooting:
Spring:
- Spring care involves aerating the turf to improve drainage and reduce compaction. Aerate using small holes to facilitate air and water penetration.
- Apply a balanced, slow-release fertilizer to promote healthy grass growth.
Summer:
- Regular watering is crucial in the summer. Water deeply and consistently to keep the turf hydrated.
- Monitor for excessive heat stress, and consider shade solutions if necessary.
Fall:
- Fall maintenance includes overseeding to rejuvenate the green after a busy summer of use.
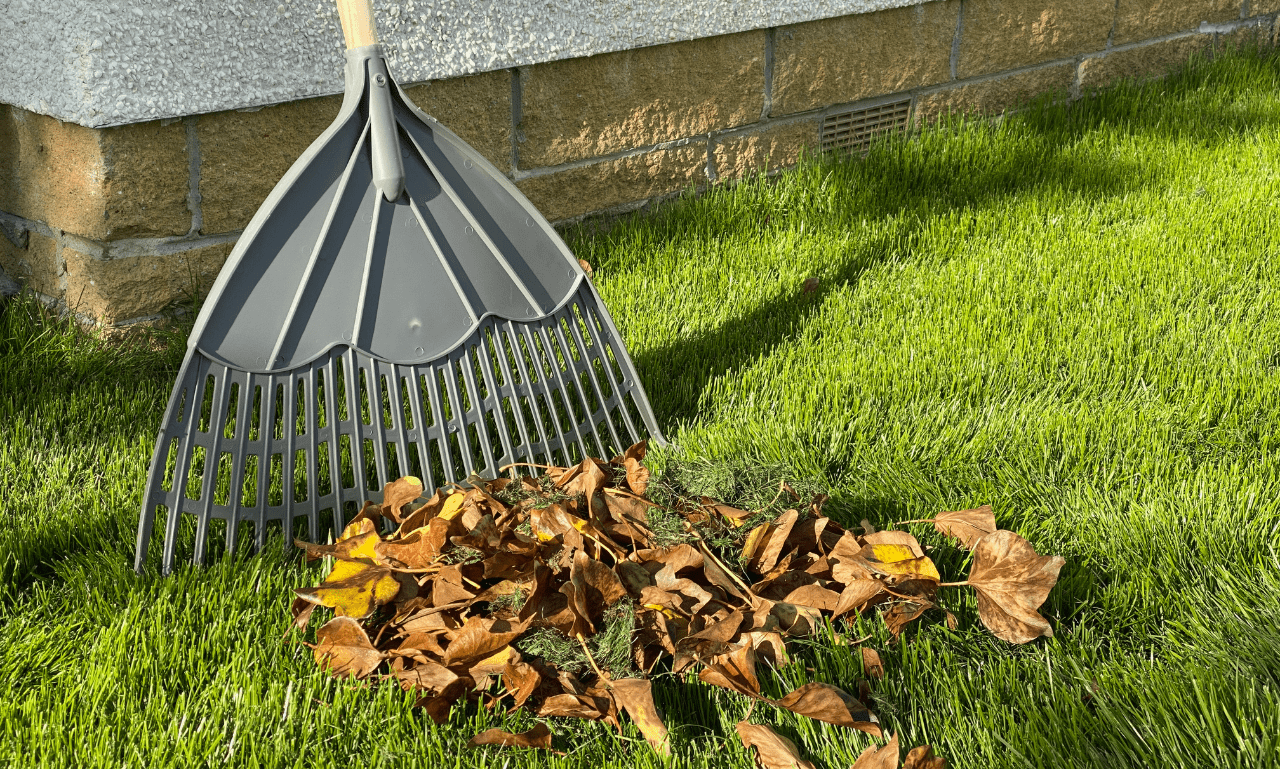
- Ensure proper leaf and debris removal to maintain a clean surface.
Winter:
- Prepare your green for the winter by applying an anti-fungal treatment and protecting it from extreme cold with covers or frost blankets.
- Be cautious with ice-melting products, as some can damage the turf.
Cleaning and Troubleshooting:
- Regularly clean the putting green surface using a leaf blower, broom, or gentle rinsing with a hose to remove debris, leaves, and dirt.
- If you notice uneven wear or drainage issues, address them promptly by consulting with a lawn care professional or following DIY drainage improvement guides.
Getting the Most Out of Your Investment
Your DIY home putting green is not just a valuable addition to your property; it’s a source of enjoyment and relaxation. Here, we’ll explore various ways to maximize your investment and fully enjoy your putting green.
- Perfecting Your Putting Skills:
One of the primary purposes of your home putting green is to hone your golf skills. You can practice putting techniques, work on your accuracy, and improve your short game. With regular practice, you’ll see significant improvements in your overall golf performance.
- Family Fun and Bonding:
Your DIY putting green isn’t just for you; it’s an excellent way to engage with family and friends. Gather your loved ones for fun putting sessions. It’s a great activity for all ages and a wonderful opportunity for quality time and bonding.
- Hosting Mini Golf Tournaments:
Take the fun up a notch by organizing mini golf tournaments. Create a series of challenging holes with unique obstacles. You can even involve your neighbors or friends in friendly competitions. It’s a fantastic way to socialize and bring the community together.
- Relaxation and Stress Relief:
Sometimes, you don’t need a golf club to enjoy your putting green fully. Consider bringing a comfortable chair, a book, or a cold beverage to your green. It can serve as a peaceful retreat, a place to unwind, and a source of relaxation after a long day.
- Unique Outdoor Parties:
Use your putting green as an attractive setting for outdoor parties and gatherings. It’s an excellent conversation starter and provides entertainment for your guests. Whether it’s a birthday celebration, a barbecue, or a simple get-together, your putting green can be the highlight of the event.
- Landscaping and Aesthetic Appeal:
Your DIY putting green can enhance the overall look of your property. Use it as part of your landscaping, complementing it with well-maintained surroundings and creative design elements. It not only adds visual appeal but also increases the value of your home.
- Year-Round Enjoyment:
With proper maintenance and seasonal care, you can enjoy your putting green throughout the year. Whether it’s a sunny summer afternoon or a crisp winter morning, your green remains accessible, providing year-round pleasure.
Conclusion
Achieving Your Dream of a DIY Home Putting Green
In conclusion, creating your own DIY home putting green is a rewarding and achievable project. With careful planning, the right materials and tools, and proper maintenance, you can have a functional, attractive putting green that enhances your home and your golf game. Whether you’re a golf enthusiast or simply want a fun outdoor feature, your DIY putting green can provide enjoyment and entertainment for years to come.
If you’re looking for a solution to deal with a noisy neighbor’s generator, check out our article on “Home DIY: How to Deal with a Noisy Neighbor’s Generator” for some helpful tips.
Related Reading