Introduction
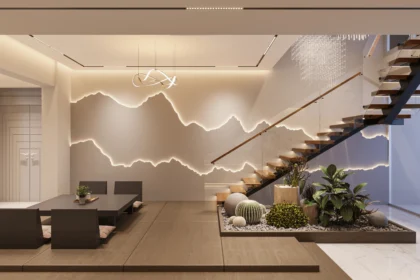
The Joy of DIY Home Closet Transformations
DIY home closet projects can be incredibly rewarding and practical. They offer the chance to create a customized space that perfectly suits your storage needs. Whether you’re looking to maximize a small closet or revamp your walk-in wardrobe, DIY closet makeovers allow you to add functionality and style to your home. This guide will walk you through the process of transforming your closets into organized, aesthetically pleasing spaces that enhance your daily life.
Why DIY Closets are the Perfect Home Improvement Project
DIY closet projects are ideal for intermediate-level DIY enthusiasts. They offer an achievable yet impactful home improvement task that doesn’t require extensive construction skills. By investing time and effort into your closet, you can elevate the organization of your clothing and accessories, making your daily routine more efficient. Whether you’re a homeowner or renter, these projects are versatile and adaptable to your specific needs.
Planning Your DIY Closet Makeover
Planning Your DIY Closet Makeover
Assessing Your Closet Space and Needs
Before you dive into your DIY closet makeover, it’s essential to lay a solid foundation by assessing your existing closet space and understanding your unique needs. This initial step will help ensure that your project is tailored to your specific requirements.
Measuring Your Closet Space:
Start by measuring the dimensions of your closet. Accurate measurements are critical because they determine what you can fit into your closet. Measure the width, height, and depth of your closet, as well as any nooks or irregularities. Take note of the ceiling height, as it can influence the type of storage solutions you can use.
Taking Inventory of Belongings:
The next crucial task is to take a detailed inventory of your clothing, shoes, accessories, and other items you plan to store in your closet. This inventory will help you determine how much storage space you need for different categories of items. It’s also an opportunity to declutter and decide which items you want to keep, donate, or discard.
Identifying Pain Points:
Consider what hasn’t been working in your current closet setup. Do you struggle with access to certain areas of the closet? Is there wasted space that could be better utilized? Recognizing the pain points in your current closet will guide your decisions on how to improve its functionality and organization.
Budgeting and Sourcing Materials for Your Project
With a clear understanding of your closet space and needs, the next step is to establish a budget for your DIY closet makeover. Budgeting is crucial because it helps you define the scope of your project and make informed decisions about materials and resources.
Setting a Realistic Budget:
Begin by determining how much you’re willing to invest in your closet makeover. Your budget should cover all expenses, including materials, tools, and any professional services you might need. Consider the type of closet you’re aiming for, whether it’s a simple reach-in closet makeover or a more elaborate walk-in wardrobe. Setting a realistic budget will help you avoid overspending.
Choosing Cost-Effective Materials:
There are numerous cost-effective options for materials that can help you achieve a stylish and functional closet without breaking the bank. Consider using affordable yet sturdy materials like laminate shelving, wire shelving systems, and budget-friendly storage containers. By making smart choices, you can stay within your budget while still achieving a fantastic result.
By meticulously assessing your closet space, understanding your needs, and budgeting wisely, you’ll lay the groundwork for a successful DIY closet makeover. This planning stage is where the magic begins, setting you on the path to creating a well-organized and visually pleasing closet that complements your lifestyle and fits your budget.
DIY Closet Organization Ideas
DIY Closet Organization Ideas
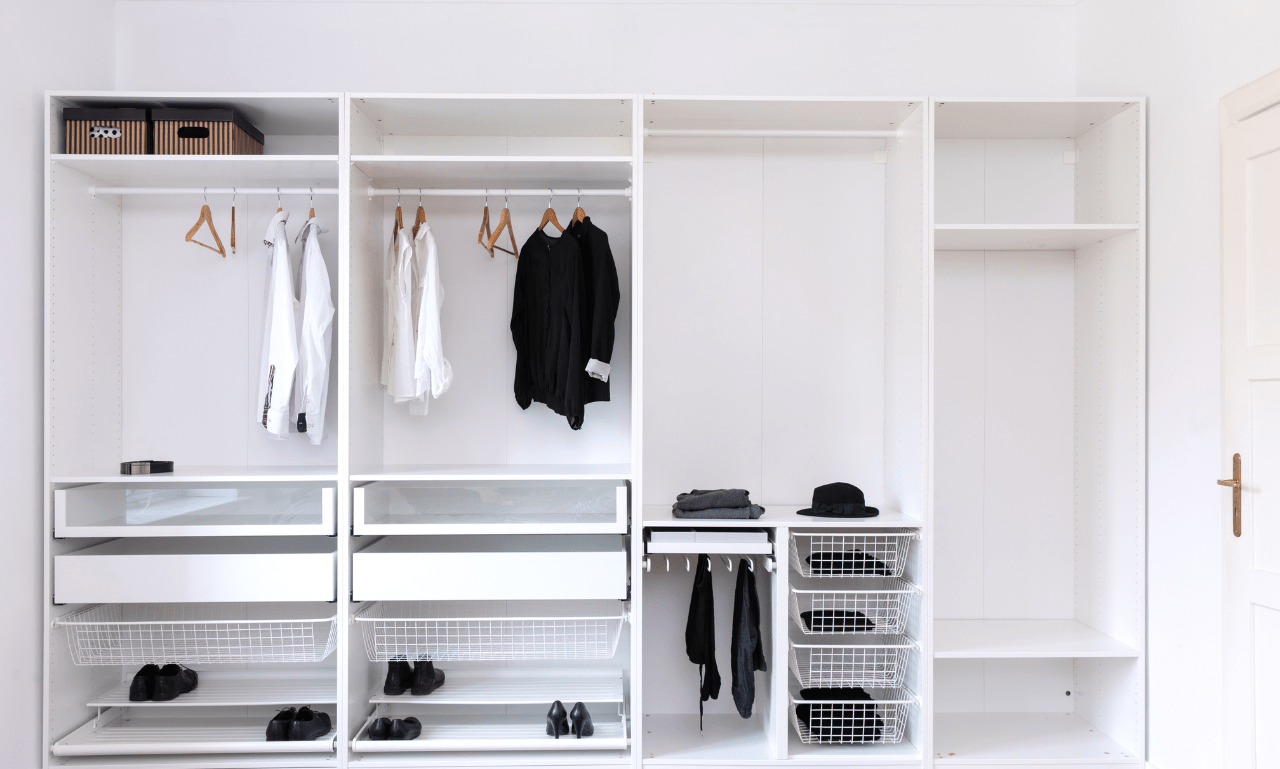
Maximizing Space with Creative Storage Solutions
DIY closet organization is all about optimizing every inch of your available space efficiently. Here, we’ll delve into creative storage solutions that go beyond the standard hanging rods and shelves, allowing you to make the most of your closet’s capacity.
- Utilizing Vertical Space: One of the most effective ways to maximize space in your closet is by utilizing vertical space. Install shelves from floor to ceiling to take advantage of the entire height. Use these shelves to store folded clothes, shoes, or boxes of accessories. Vertical dividers can keep your items neatly separated.
- Installing Pull-Out Shelves: Pull-out shelves are a game-changer when it comes to closet organization. They provide easy access to items stored in the back, eliminating the need to rummage through piles. These shelves are ideal for organizing shoes, folded garments, or even jewelry and accessories.
- Incorporating Pocket Organizers: Pocket organizers are a fantastic storage hack for small items like scarves, belts, socks, or even small accessories. Hang these organizers on the back of your closet door or on a side wall. They keep items visible and easily accessible, reducing clutter inside your closet.
- Over-the-Door Racks: Over-the-door racks are a versatile storage solution. They can hold shoes, bags, scarves, or any items that you want within reach. These racks are simple to install and can be adjusted to fit different door sizes, making them a valuable addition to your closet.
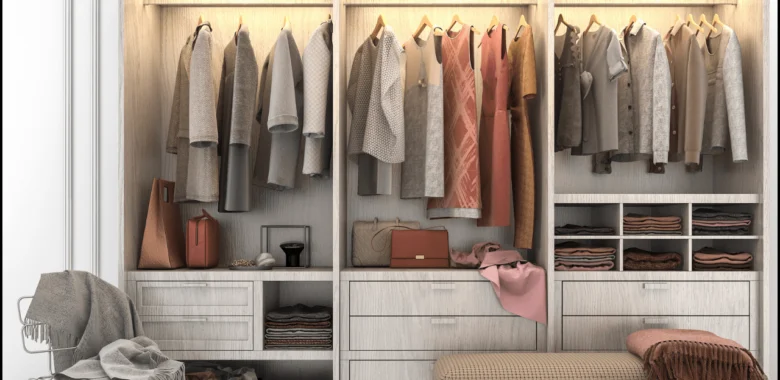
Tips for Decluttering and Organizing Your Wardrobe
Effective closet organization begins with decluttering and arranging your wardrobe strategically. Here are step-by-step guidelines for decluttering your clothing, shoes, and accessories, as well as organizing them efficiently:
- Evaluate and Sort: Begin by removing all items from your closet. Evaluate each piece and decide whether to keep, donate, or discard it. Consider the last time you wore an item and whether it still fits your style.
- Categorize Your Clothing: Sort your clothing into categories such as tops, bottoms, dresses, and outerwear. This makes it easier to locate specific items.
- Arrange by Frequency of Use: Place the most frequently worn items at eye level for easy access. Less frequently worn items can be stored on higher or lower shelves.
- Use Storage Bins: Invest in storage bins or baskets for items like scarves, belts, and small accessories. Label these bins to quickly find what you need.
- Shoe Organization: Use shoe racks, clear shoe boxes, or hanging shoe organizers to keep your footwear in order. Consider storing out-of-season shoes elsewhere to free up space.
- Hanger Consistency: Use uniform hangers for a neater appearance. Slimline hangers can save space and provide a sleek look.
By following these decluttering and organizing tips and incorporating creative storage solutions, you can transform your closet into an organized, efficient, and aesthetically pleasing space. An organized wardrobe simplifies your daily routine and ensures that everything has its designated place, making getting dressed a breeze.
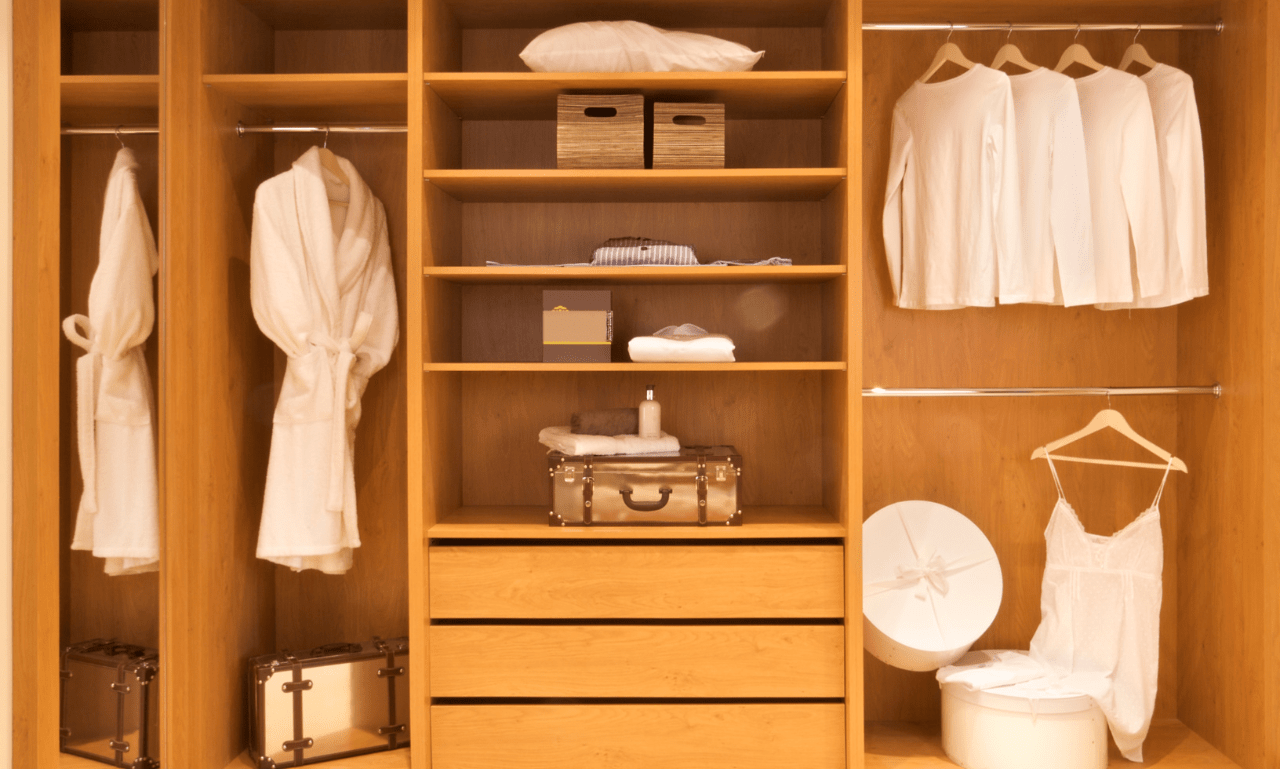
Building Custom Closet Systems
Building Custom Closet Systems
Building a custom closet system is a rewarding DIY project that allows you to create a storage space tailored to your needs and preferences. In this chapter, we’ll provide comprehensive, step-by-step instructions for constructing your custom closet. Whether you’re working with a small reach-in closet or designing a spacious walk-in wardrobe, these guidelines will help you achieve a functional and organized storage solution.
Step-by-Step Instructions for Constructing Your Closet
- Measure and Plan: Start by measuring your closet space. Take precise measurements of the width, height, and depth of the closet. With these measurements in hand, create a detailed plan for your closet’s layout. Consider the placement of shelves, hanging rods, and any specialized storage features.
- Materials and Tools: Before you begin, gather the necessary materials and tools. We recommend affordable and readily available materials like medium-density fiberboard (MDF), plywood, or pre-made shelving boards. Basic tools like a saw, drill, screws, and level are essential for the construction.
- Construct Shelving: Begin by constructing the shelves. Cut your chosen material into appropriate sizes based on your plan. Install brackets or shelf supports securely on the closet walls. Place the shelves on top, ensuring they are level and well-anchored.
- Install Hanging Rods: If your closet design includes hanging space for clothing, install hanging rods using sturdy rod supports. Measure and mark the appropriate heights for different clothing lengths, such as dresses or shirts.
- Create Storage Zones: Consider the specific items you need to store in your closet. Create designated storage zones for shoes, accessories, or other items. Use adjustable shelving or storage bins to accommodate different needs.
- Optimize Door Space: Don’t forget the back of the closet door. Utilize this space for additional storage by adding hooks, pockets, or a pegboard to hang items like scarves, belts, or jewelry.
- Finishing Touches: Once your closet structure is in place, add finishing touches. Sand any rough edges, and consider painting or staining the closet components to match your desired aesthetic.
Utilizing Affordable Materials and Tools for the Job
Building a custom closet doesn’t have to break the bank. Here are some tips for utilizing budget-friendly materials and tools:
- Cost-Effective Materials: Medium-density fiberboard (MDF) is an affordable yet sturdy option for shelves. Pre-made shelving boards are also cost-effective and come in various finishes.
- Creative Reuse: Consider repurposing materials you may already have, such as wooden planks or brackets from old furniture. This eco-friendly approach can save money.
- Basic Tools: Invest in basic carpentry tools that you can use for various projects. A circular saw, drill, screws, and a level are versatile tools that come in handy for constructing your custom closet.
- DIY vs. Professional Installation: While DIY is budget-friendly, if you’re unsure about your carpentry skills, it’s worth comparing the costs of a DIY project to a professionally installed closet system. Sometimes, the convenience and expertise of a professional installer can be a worthwhile investment.
By following these step-by-step instructions and cost-effective tips, you can successfully build a custom closet system that meets your storage needs, enhances your home’s organization, and adds value to your living space. Whether you’re a seasoned DIY enthusiast or a beginner, this project is manageable and rewarding.

Adding Style and Finishing Touches
Adding Style and Finishing Touches
Enhancing the Aesthetics of Your DIY Closet
When it comes to your DIY closet project, aesthetics are more than just an afterthought; they’re an integral part of creating a space you’ll love. Let’s explore some creative ways to enhance the visual appeal of your closet:
Paint Colors and Finishes: The right choice of paint colors can transform your closet. Consider light, neutral shades to make the space feel open and airy. If you prefer a bold statement, opt for a vibrant accent color. Satin or semi-gloss finishes are ideal, as they’re easy to clean and add a touch of sophistication.
Wallpaper: Wallpaper can introduce texture and patterns to your closet. It’s an excellent way to create an accent wall or give your closet a unique character. Choose peel-and-stick wallpapers for easy installation and removal.
Decorative Hardware: Don’t underestimate the impact of hardware. Replacing standard knobs and handles with decorative ones can elevate your closet’s appearance. From sleek modern designs to vintage-inspired pieces, there’s hardware to suit every style.
Lighting, Decor, and Final Steps for a Polished Look
Proper Lighting: Adequate lighting is essential for practical use and aesthetics. Consider LED strip lights, battery-operated puck lights, or stylish pendant lights. Ensure that your clothing and accessories are well-illuminated so you can easily find what you’re looking for.
Mirrors: Adding a mirror to your closet can make it feel more spacious and functional. Full-length mirrors on the closet door or within the closet space itself can help you finalize your outfits with ease.
Artwork and Personal Touches: Hang artwork, inspirational quotes, or photographs within your closet to make it a personal and inviting space. These touches can transform your closet into an extension of your home’s decor.
Stylish Storage Containers: Consider decorative storage containers like woven baskets, fabric bins, or elegant acrylic organizers. These not only keep your items organized but also add a stylish touch to your closet.
By paying attention to the aesthetics of your DIY closet, you create a visually pleasing and inviting space. Personalizing the appearance of your closet makes it more than just a storage area; it becomes a reflection of your style and a source of daily inspiration.
Conclusion
In conclusion, a DIY home closet project can be a highly satisfying and beneficial endeavor. By thoroughly planning, organizing, building custom closet systems, and adding style and finishing touches, you can create a closet that not only maximizes space and efficiency but also reflects your personal style. Whether you’re looking to revamp a small closet or create a dream walk-in wardrobe, this guide equips you with the knowledge and inspiration to complete your DIY closet transformation successfully.
If you’re wondering about the best laundry practices for different clothing, you’ll find valuable insights in our article on ‘Washing Khakis: Lights or Darks? The Ultimate Guide’.
Related Reading