Introduction
The Dream of a Home Elevator: An Overview of DIY Possibilities
Many homeowners dream of having a home elevator, and with the advancements in DIY technology, that dream is becoming more achievable. This introduction sets the stage for exploring the world of DIY home elevators, highlighting the exciting possibilities of adding convenience and accessibility to your residence.
Why Consider a DIY Elevator and Its Benefits for Home Accessibility
In this section, we delve into the motivations behind DIY home elevators. You’ll discover the practical benefits of increased accessibility and convenience. From enhancing mobility for family members to increasing your home’s resale value, we’ll explore the reasons why DIY elevators are gaining popularity.

Planning Your DIY Home Elevator Project
Assessing Your Home’s Elevator Needs: A Step-by-Step Guide
To ensure the success of your DIY home elevator project, thorough planning is essential. In this section, we offer a detailed, step-by-step guide to assist you in assessing your home’s elevator needs.
Step 1: Space Assessment
Begin by examining the available space in your home. Determine where you intend to install the elevator. It’s crucial to ensure that the chosen location can accommodate both the elevator shaft and the elevator car. Consider any structural modifications that may be required.
Step 2: Load Requirements
Understanding the load requirements is fundamental. Calculate the maximum weight capacity you’ll need the elevator to support. This is influenced by the intended use of the elevator, such as transporting people, moving furniture, or assisting individuals with mobility challenges.
Step 3: Ideal Location Identification
Identifying the ideal location for the elevator installation is a critical decision. Factors to consider include convenience, accessibility, and the potential impact on your home’s layout. You’ll want to choose a location that integrates seamlessly with your daily life.
Budgeting and Permit Requirements for a Safe and Legal DIY Elevator
Planning goes beyond assessing your home’s elevator needs. It extends to financial considerations and legal requirements that must be addressed.
Budgeting for Your DIY Elevator
Creating a realistic budget is key to the success of your DIY elevator project. Factor in all expenses, including materials, labor, permits, and any unexpected costs that may arise during construction. A well-thought-out budget ensures that you have the necessary financial resources to see the project through to completion.
Permit Requirements
Adherence to local building codes and obtaining the required permits is vital for a safe and legal DIY elevator project. Each jurisdiction may have its own regulations and requirements. It’s crucial to research and understand the specific permits and approvals needed for your project to proceed without legal issues.
By thoroughly assessing your home’s elevator needs, creating a comprehensive budget, and navigating the permit requirements, you’ll set the foundation for a successful DIY home elevator project. This planning phase is the first step toward realizing your dream of an in-home elevator that enhances accessibility and convenience.

Choosing the Right Elevator System
Types of DIY Elevator Systems: Hydraulic, Cable-Driven, and More
When it comes to building a DIY home elevator, one of the critical decisions you’ll face is choosing the right elevator system. Elevator systems come in various types, each with its unique features and advantages. In this section, we’ll provide a comprehensive overview of the different types of DIY elevator systems, including hydraulic, cable-driven, and pneumatic options.
Hydraulic Elevator Systems:
Hydraulic elevator systems are known for their smooth and quiet operation. They use a hydraulic piston to move the elevator car. These systems are a popular choice for residential elevators due to their reliability and space-efficient design. We’ll explore how hydraulic systems work and the scenarios in which they excel.
Cable-Driven Elevator Systems:
Cable-driven elevator systems, also known as roped hydraulic systems, use cables and a hydraulic jack to lift the elevator car. They offer a balance between the smoothness of hydraulic systems and the versatility of cable-driven mechanisms. We’ll discuss the functioning of cable-driven systems and their suitability for various home layouts.
Pneumatic Vacuum Elevator Systems:
Pneumatic vacuum elevator systems operate using air pressure differentials. These systems are known for their futuristic and space-saving design. We’ll explain how pneumatic vacuum elevators work and explore their benefits, including minimal construction requirements.
Selecting the Best Elevator System for Your Home and Lifestyle
The key to a successful DIY home elevator project is choosing the elevator system that best aligns with your home’s design and your lifestyle. Several factors come into play when making this decision:
- Space Requirements: Consider the available space in your home. Some elevator systems require more space for installation and operation than others. Assess your home’s layout to determine which system fits best.
- Energy Efficiency: Evaluate the energy efficiency of the elevator system. Some systems are more energy-efficient than others, which can have a long-term impact on your utility bills.
- Ease of Maintenance: Different systems have varying maintenance requirements. Explore how much time and effort you’re willing to dedicate to elevator upkeep.
- Aesthetic Preferences: Your home’s interior design and aesthetics are essential. Choose an elevator system that complements your home’s style.
- Budget Considerations: Budget constraints are a significant factor. Some elevator systems may have a higher upfront cost or ongoing maintenance expenses. Weigh your budget against the long-term benefits.
By carefully considering these factors and gaining a deep understanding of the available elevator systems, you can make an informed decision. Ultimately, the best elevator system is the one that enhances your home’s accessibility and aligns with your unique needs and preferences.
With this knowledge in hand, you’re well-equipped to move forward in your DIY home elevator project, confident that you’ve chosen the right elevator system to suit your home and lifestyle.

Building Your DIY Home Elevator
A Detailed Guide to the Construction Process: From Foundation to Carriage
In this part of our comprehensive guide, we’ll take you through the step-by-step construction process of building your DIY home elevator. From laying the foundation to assembling the elevator carriage, we’ve got you covered with a detailed and practical guide to ensure the success of your project.
Laying the Foundation: The Bedrock of Your Elevator
To begin, your DIY elevator project starts with laying a solid foundation. This is the bedrock upon which your elevator will be built. It is essential to ensure that the foundation is level, stable, and able to support the weight of the elevator. Detailed measurements and proper alignment are key to getting this foundational step right.
Structural Work: Creating the Framework
Once the foundation is in place, it’s time to move on to the structural work. This involves constructing the framework that will support the elevator system. You’ll need to follow precise plans and measurements to build the framework accurately. Ensuring the framework is plumb, level, and secure is vital for the elevator’s safety and smooth operation.
Assembling the Elevator Carriage: The Heart of the System
The elevator carriage is the heart of your DIY elevator system. It’s the part that will transport you or items between floors. Assembling the carriage involves installing the platform, rails, and the mechanical components responsible for its movement. This step requires careful attention to detail and following the manufacturer’s instructions meticulously.
Safety Measures, Tools, and Materials You’ll Need for a Successful Build
Safety should always be a top priority during the construction of your DIY home elevator. We’ll provide a list of essential safety measures that you must follow to protect yourself and anyone else involved in the project. This includes precautions such as wearing appropriate safety gear, working with a partner, and taking breaks when needed to prevent fatigue-related accidents.
Additionally, we’ll detail the tools and materials you’ll need for a successful build. From common construction tools like saws and drills to specific elevator components, we’ll offer recommendations and insights to make your construction process as smooth as possible.
By the end of this chapter, you’ll have a solid understanding of the foundational and structural work required to build your DIY home elevator. You’ll also be well-equipped with the knowledge of essential safety measures and the right tools and materials to ensure a successful and safe project.
Electrical and Control Systems
Understanding Electrical Wiring and Control Panels for a DIY Elevator
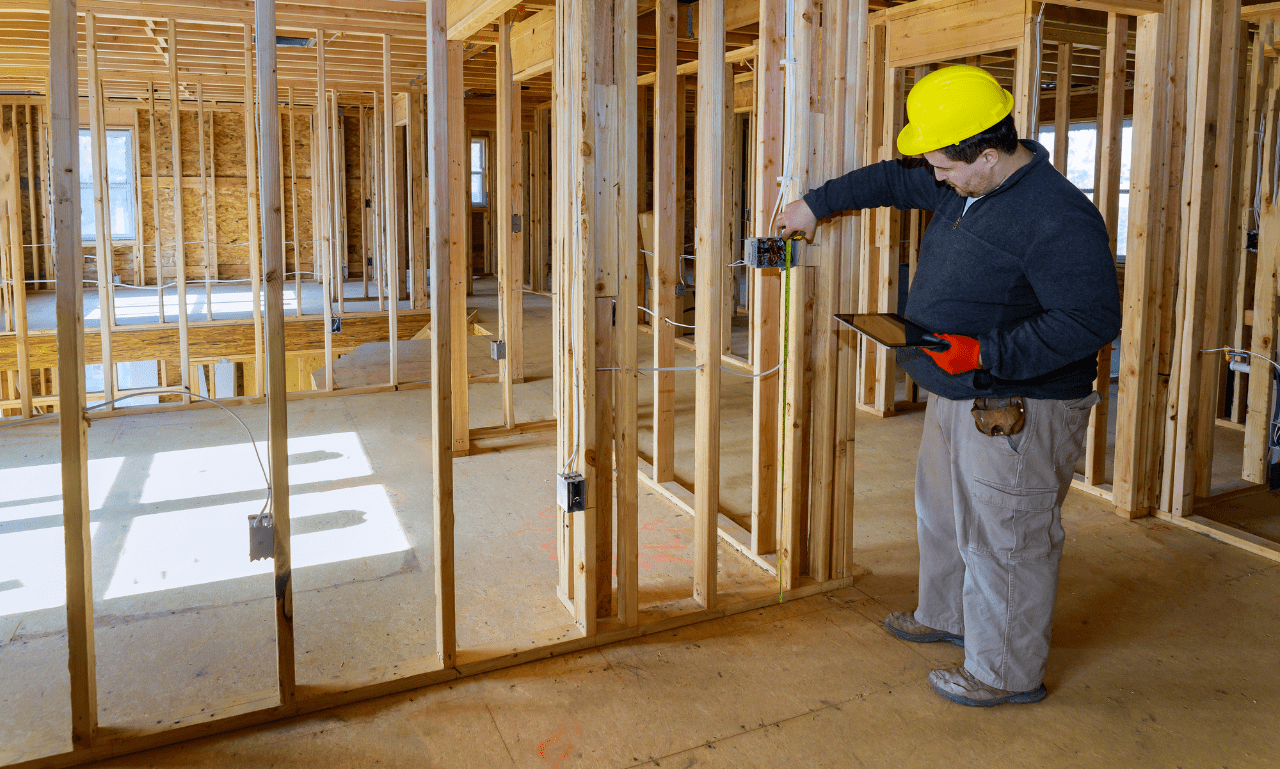
Electrical components are the lifeblood of your DIY elevator, orchestrating its movement and ensuring safety. To successfully build your elevator, it’s essential to comprehend the electrical aspects of your project.
Electrical Wiring:
Proper electrical wiring is fundamental to the operation of your DIY elevator. We’ll provide a detailed breakdown of wiring components, including power sources, cables, and connections. Understanding how these elements work together is crucial for a seamless elevator system.
Control Panels:
Control panels are the brains of your elevator. We’ll delve into their functions, explaining how they manage elevator operations, including starting, stopping, and level selection. This knowledge will empower you to make informed decisions when installing or troubleshooting your control panel.
Ensuring Smooth and Safe Operation with Proper Installation
To ensure a smooth and safe elevator operation, proper installation of electrical components is non-negotiable. We offer a step-by-step guide on installing the electrical systems, from wiring and cable management to control panel setup.
Wiring Procedures:
Detailed wiring procedures are essential for preventing electrical malfunctions. We’ll guide you through the correct steps for wiring, including the use of appropriate gauges and safety practices. Following these procedures will help prevent potential electrical issues.
Control Panel Setup:
Setting up the control panel is a critical step. We’ll explain how to install and configure the control panel to align with your elevator’s specific needs. Accurate setup ensures that your elevator functions smoothly and safely.
Safety Measures:
Safety is paramount when dealing with electrical systems. We’ll emphasize safety measures throughout this chapter to prevent electrical hazards and maintain the elevator’s reliability. From proper grounding to the use of circuit breakers, we’ll guide you on implementing safety protocols.
Finishing Touches and Maintenance
Interior Design and Aesthetics for Your DIY Elevator
When it comes to your DIY home elevator, functionality is just one aspect to consider. Elevators can also be visually pleasing and seamlessly blend with your home’s aesthetics. We explore various interior design options to enhance the look and feel of your DIY elevator.
Whether you prefer a modern, classic, or personalized design, we provide tips for creating an elevator interior that aligns with your taste and complements your home’s decor. Consider elements like lighting, wall finishes, flooring, and cabinetry that not only make your elevator functional but also make it a focal point of elegance and style in your home.
Maintenance Tips for Keeping Your Elevator Safe and Reliable
Ensuring the safety and reliability of your DIY elevator requires a commitment to regular maintenance. Without proper care, even the best-built elevators can develop issues over time. We’ll discuss essential maintenance routines that will extend the lifespan of your elevator and ensure its continued operation without issues.
Regular inspections are a cornerstone of elevator maintenance. We’ll guide you through a checklist of components to inspect, covering everything from cables and pulleys to safety features and emergency stop systems. Consistent inspections can catch potential problems early and prevent costly repairs.
Lubrication is another key aspect of maintenance. Keeping moving parts well-lubricated is vital for smooth and efficient operation. We’ll provide recommendations for the appropriate lubricants to use and the frequency of lubrication.
Safety checks are non-negotiable. We’ll explain how to perform safety tests to ensure that your DIY elevator meets the required safety standards. This includes testing emergency brakes, door sensors, and control panel functionality. Proper safety checks guarantee the well-being of all passengers.
Incorporate these maintenance routines into your regular schedule to keep your DIY elevator in top-notch condition. By combining aesthetics with reliability and safety, your elevator will continue to serve you and your family for years to come.
If you want to discover the best tips for looking over a fence, check out our article, A Peek Beyond the Fence: Tips for Looking Over a Fence.


